Note: This was 9 pages long single spaced in word, have fun with that!
And here are my satin mastering presets which I mention deeper in the paper:
https://drive.google.com/open?id=11ZVXN6XCLUYTMMHUNunUnBgc29orTWdF
I’ll double check, but I think most of the rest of my process is pretty well detailed here and I either use stock presets or tackle it on a song-by-song basis.
Hey guys, I’ve answered a few questions independently for artists over time about what happens when I master their tracks and why. What I’ve come to realize is that people don’t know what I’m thinking when I get to work on this stuff, which was a surprise for me. When I explain what’s going through my mind and what I hear, that can be very enlightening for some artists. So I thought I’d try doing a write-up of what my mastering process looks like, what I hear in each track, and what I end up doing to get the finished product.
My mastering chain is a lot of layers, each doing a little at a time. In that way, you can make big changes if you need to, but it can still come out relatively subtle. There’s no hiding lopping 3db off everything above 2k, but you can make it not sound like the whole mix went through a LPF and still make big moves. First, I use Airwindows bitshift gain to put the song into the right loudness range on the way in. This is only for when I get something where I was left 2db of headroom or max peaks of -24 db. Bitshift gain can change the level of the audio with no noise, very simple calculations, and next to no latency. Unfortunately, it can only do this in increments of exactly 6 db, so you only use it to take a mix that would otherwise not work at all and make it work. I didn’t have to use this on any tracks for the past few albums, but you want it around when you need it.
Once that’s done, we have a little more housekeeping to do before we get to the good stuff. Subsonic frequencies and the lowest audible frequencies really cannot be played properly by any but a handful of systems in a given area, and odds are the most of us do not have access to such a system. So, I took a tip from Deadmau5 when he said that he cuts everything below 40, even 45 hz in the mastering process, and he uses a free vst called Engineer’s Filter to do it. Those low frequencies can build up a lot of energy that no one can hear, but will make saturation and limiters misbehave. We want rid of them and I use Engineer’s filter with an order 20 HP Papalous filter to do it. You can examine some of the other models available, but the goal is the same: to cut the low frequencies quickly WITHOUT introducing phase issues in the filter response. You only have one octave to work with, so a gentle 6 db/octave highpass isn’t going to do much for you. But, even izotope’s finest brickwalls cause some phasing issues. I’ve deemed that the equivalent of a 96 db/oct filter with the particular phase response offered by Engineer’s Filter’s models is the right compromise for me. Just keep it well away from the bottom of the kick to be sure.
With those adjustments, we’re ready to begin taking the track from where it is to where I feel it needs to be given the context. The first thing I do given any mastering job, is listen to the whole project beginning to end and take notes on each track about what needs to change, any special elements I want to highlight, and any elements I want to try and leave alone. After that, I leave it a day, look over my notes and, if they still make sense the next day, I begin with fresh ears, usually with the quietest track first. I can work up to two hours in an evening, usually, before I start to make incorrect choices due to hearing fatigue, which is fine since that’s about as much time as I often have anyways. If I have time to work in the morning it’d only be an hour, then I’d have all day at work to recover, then I could still get in 2 hours at night. I focus in by looking at the loudest part of the wave print and start playback just before that, looping that section of the song.
The first processing that happens (after gainstaging and sub-filtering from earlier) is a broad EQ adjustment that sets up the track for subsequent processing. I use Accustica Red EQ for this as it sounds good, has a reasonable ability to adjust the balance of the mix, and I can get something I like out of it very quickly. Accustica doesn’t distribute this one anymore, so I’d investigate (and have set up) TDR Slick EQ as an alternative. With some tweaking you can get a very similar response to Red EQ, though I’m not as fast in this one so I still don’t really use it. But for the day that Red EQ breaks or I lose that hard drive, Slick EQ is my alternative (and is probably the technically superior product). In any case, this is only slightly going to affect the end product, but it’s really setting up what we want to drive into the next stage of processing.
And that next stage is a mastering tape preset I made for myself in Satin. I use the crosstalk here to give a suggestion of physical circuits touching the audio, where -70 db of crosstalk is considered very good hifi gear and anything lesser is only going to be more ( I use -70 by default). I’ll put up the preset file because I know a few people here are rocking Satin, but the general idea is that it’s a very clean tape machine. I do have the opportunity here to reduce tape speed, change pre-emphasis, bias, or pre-post companders to alter the response. My default settings are the highest fidelity while still impacting the sound and I can degrade various aspects from there. Satin is great for this because you can see in real time what the tape machine’s response is to various controls. So, even though I’m no tape expert, I can get the response I want very reliably. When not doing anything special, Satin’s job is to slightly attenuate the extreme frequencies and help bring the mix together between crosstalk and tape compression. Airwindows has some good free alternatives with ToTape and Iron Oxide, which even have some tricks that Satin doesn’t (though no real-time response graphs).
Next, and this is a relatively new part first used with the Date Night release, I use the free TDR Kotelnikov to take off just the harshest elements. I’m only looking for 1-2 db of gain reduction from an already very clean plugin. I slightly modify the Tight Mastering preset. In this release I had to play around with the detection filter to avoid pumping, that is not the goal of this kind of compression. Instead, I listen to the delta channel and I want to take out any of the harder percussion that tape hasn’t softened (and isn’t in the bass). I use no makeup gain or increased output. Instead, I bring the dry mix volume up to around -25 db. I’m not sure of the technical description for what this does, but to me it feels like it takes any space in the mix and fills it in with related musical content. The effect seems to be that it very transparently raises the level some in the quieter parts of the track without killing dynamics – I think.
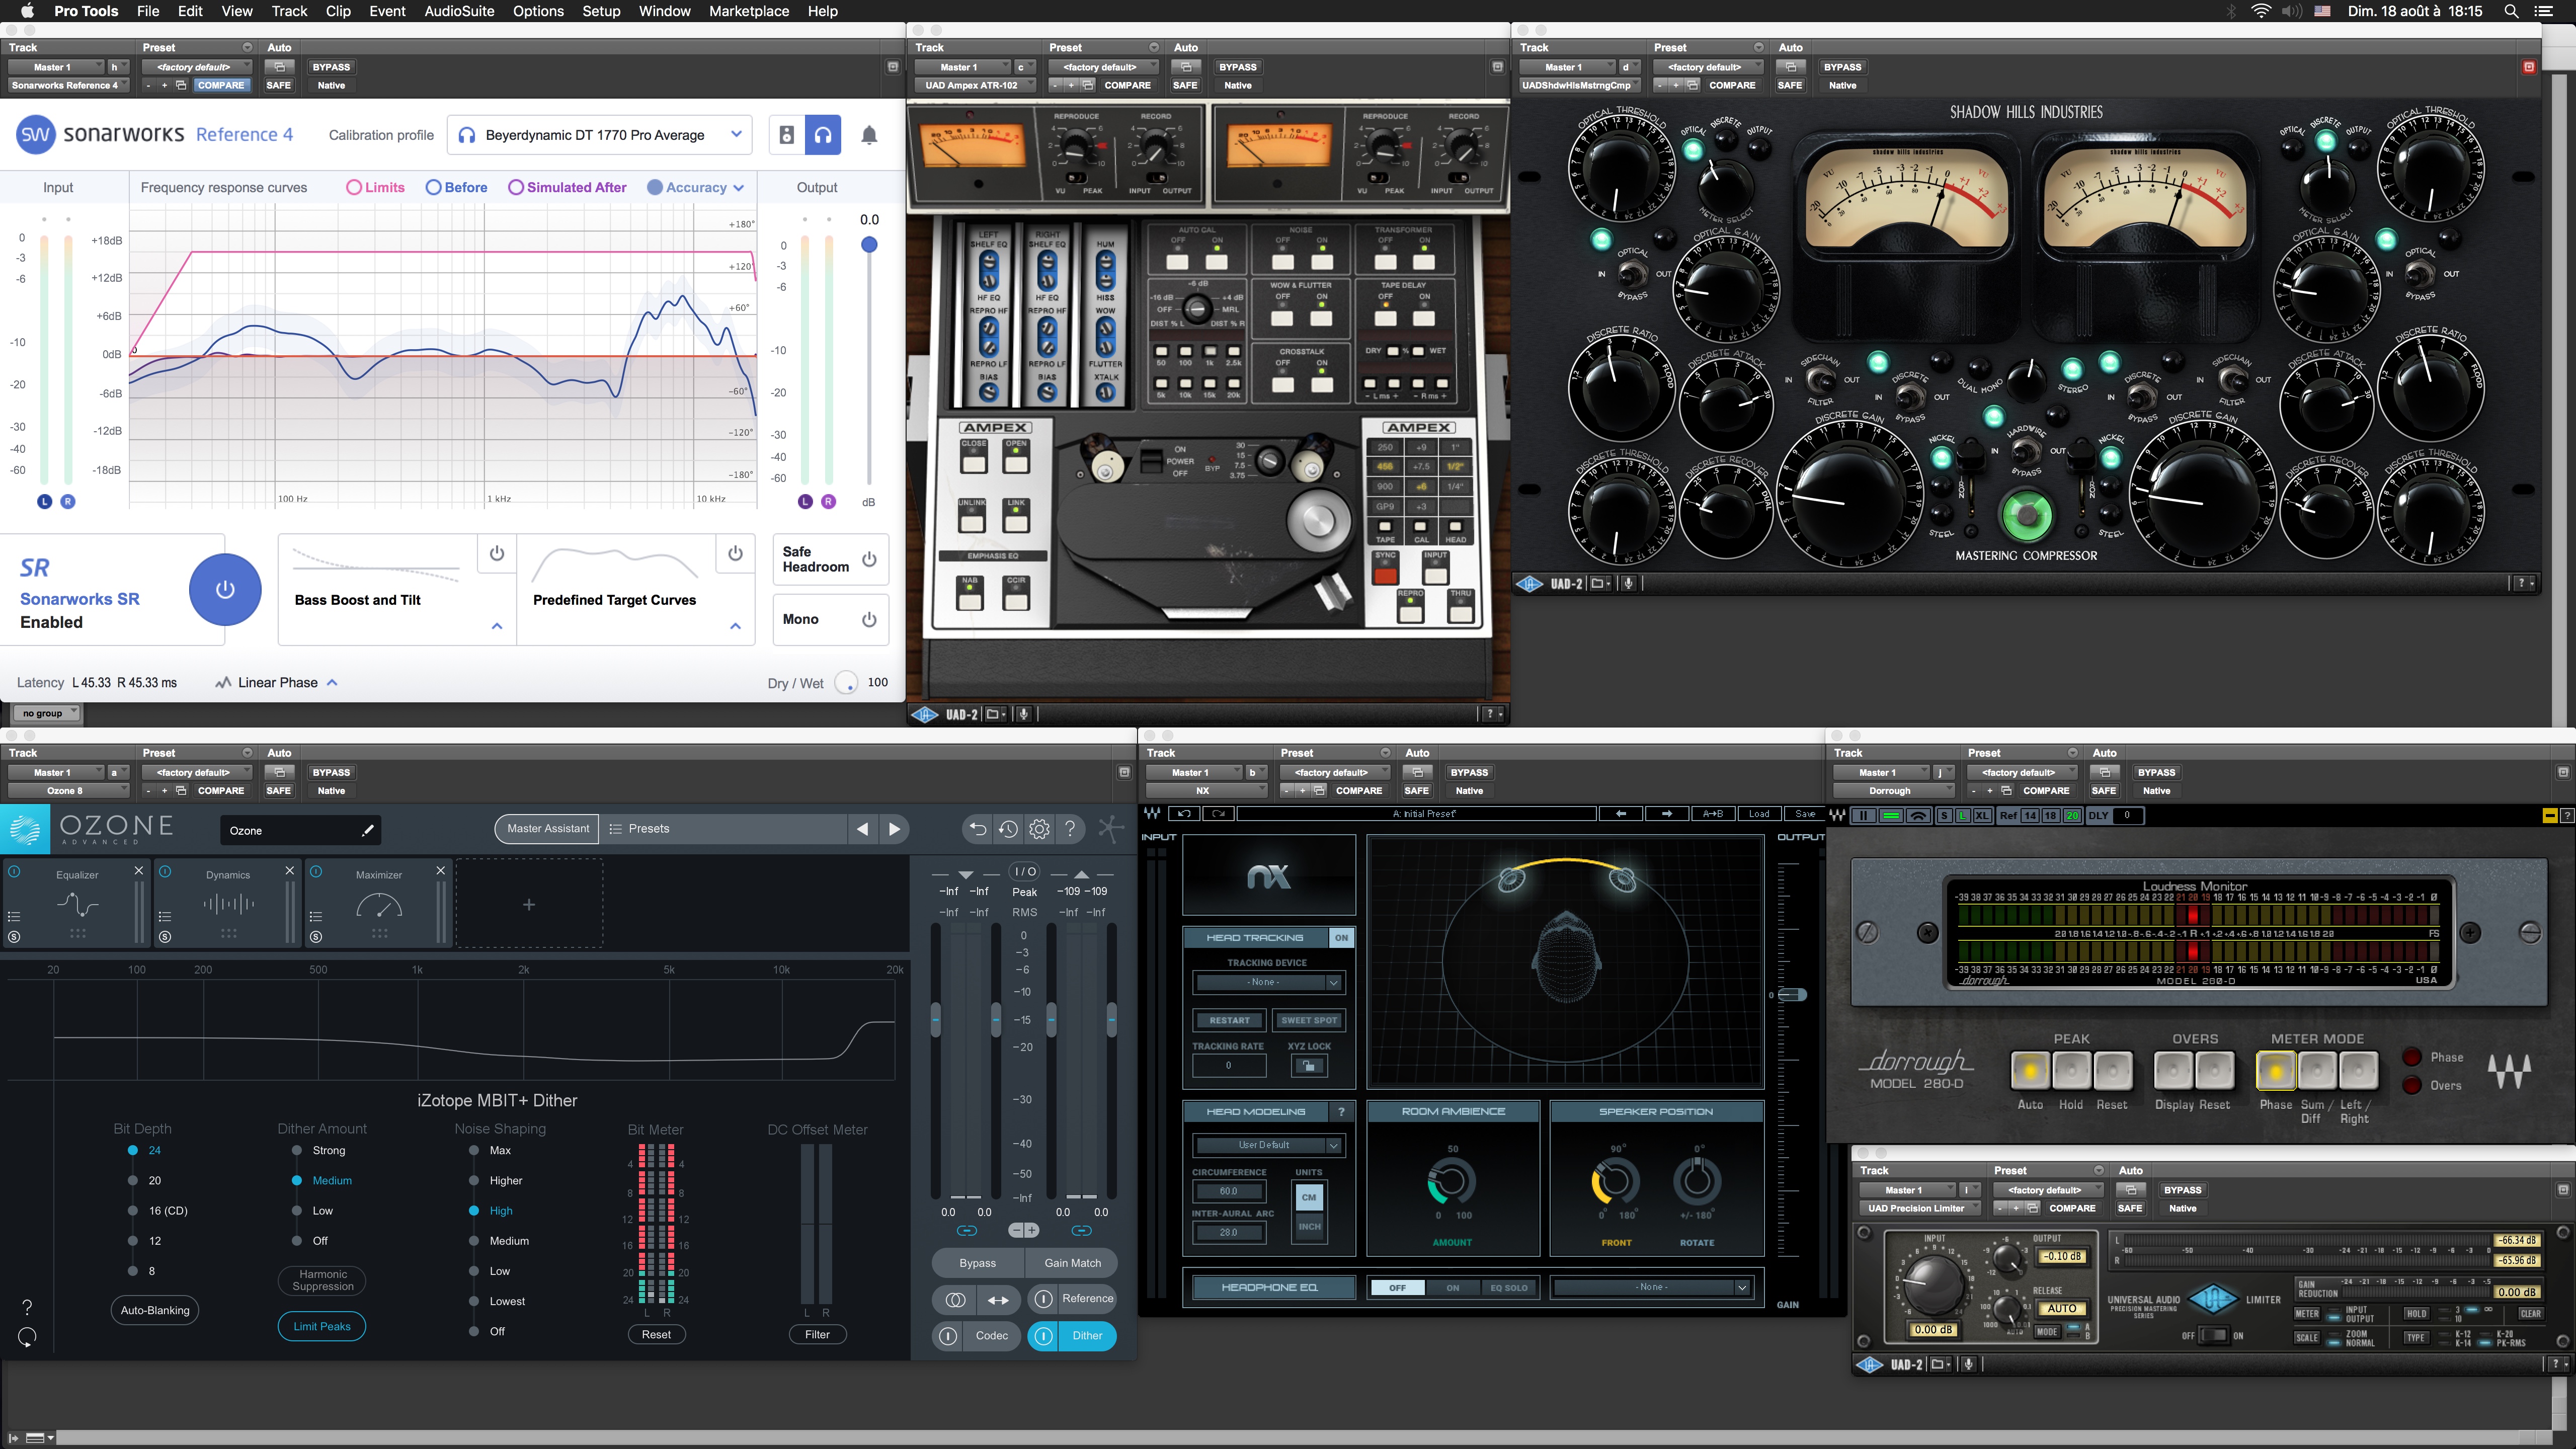
After that, the song is usually in the ballpark of what I think it should sound like, but there still needs to be more precise work done to dial in how all the instruments, or various frequency bands, are working against each other, and for that I use Ozone 8. I don’t know of any single plugin that can replace Ozone in my workflow (I know how all its modules work too well and am too used to the Izotope sound from using Alloy 2 and now Neutron 3 for my mixing), but I will attempt to offer free alternatives to the individual modules so that you can try my ideas for yourself if you want.
First, I go into Ozone’s EQ and run another highpass filter (flat, 48db/oct) at around 30-35 hz, just in case Satin added any rumble. I then serve the song as needed, using a combination of broad bands to shift the tone of the track and narrow ones to push certain instruments in or out, working from the bottom up mostly. One trick I like and use in a lot of songs is a tight boost of 1 db or so anywhere from 90 to 130 hz. This is where I hear the upper part of bass drum and I like to emphasize that a bit because it’s the bottom range of what most systems can play clearly. Knowing how bass drums work though, most are based on some sort of fast frequency sweep, so keep in mind that anything you do is going to affect the kick’s frequency as well as it’s attack and release. Fortunately, the subtle boost I like seems to just make the attack of the drum pop out a bit more. That’s my only special trick. Tmain reason this is being EQ’d now is no longer to set up for subsequent processing, but to try and get the song exactly the way I feel it should sound. There’s still a few more modules of Ozone to go through, so if those don’t respond the way I want I will go back and change this EQ to get it right. The best free alternative off the top of my head would be TDR Nova.
Next is the Exciter module, and this has a subtle, but as far as I know unique use by me. I make use of each of the 4 available bands with the Triode character. Tubes are fast (faster than transistors) so you can get a very dynamic sound out of them and not sacrifice the clarity of the music too much because everything stays nice and tight in the time domain. So this ends up behaving more like a very transparent, broad, dynamic EQ the way I use it. I only use the bottom band at all if I feel the subs are sparse enough that they need extra weight (after the rest of the processing, this is not often), and I use the mid band more or less as you’d expect, bringing the drive level to between 1 and 2, leaving the mix maxed out, and seeing some harmonics come in. But for the upper two bands, it’s a different story. For these, I bring in the drive to about .3 at most, and this has the effect of eating up a bunch of energy without actually turning the level down. I don’t know if this is a processing artifact, or if it’s down to the way that this saturation really behaves, but it just takes all the edge right out of the upper frequencies and makes it quite comfortable without any shrillness as we push the mix louder later. I’ve started to realize this is heavy handed just with the Open House release, so I turn the mix down on these bands now to get some of that energy back. I used to use the tape mode for this, but I found that it wasn’t fast enough and turned to tubes instead, though tape can have a similar effect, albeit not as transparent. I’ve already mentioned Airwindows’ free tape emulators, they also have console saturation plugins and distortions on offer. Check Spiral 2 for some of their best work.
After that, things are a bit more flexible, but my default is to go into Ozone’s Imager. Again, I make use of all the bands here and I rarely ever widen things out. More often I narrow songs and try to get them just a bit tighter, more condensed, and less jarring in the move from mono to stereo. This is where I check things like mono response, channel flipping, phase inversion, and such to make sure that everything responds as I’d expect a normal song to. If all goes well, this is the last stage of processing where I have any creative input. Ozone offers the Imager for free, but it’s only a single band. I don’t have experience with any other multiband stereo wideners, free or paid, but you could run separate instances on a few mixer channels and filter the input on each to get a similar result.
The next stage is the Maximizer, and I use IIRC 4, set to Modern, with a character level between 1 and 2 and true peak sampling. I adjust the threshold until I’m hitting the kick reliably, but just a little and look at Youlean Loudness Meter to see where the loudness stands. When I think it’s right, I unloop the loud section and play the song start to finish. I make sure nothing sounds off in the sections I haven’t been working on, make tweaks to the limiter to get the track to around -11 LUFS in Youlean (and other parts of Ozone to make the whole song sound good), and make sure I don’t hear any obvious distortion or changes in tone made by the limiter. Because IIRC 4 is a multiband limiter, it’s cleaner and more transparent than the equivalent broadband limiter in ideal conditions, but it can make significant changes to the audio going into it if the song does something unexpected or if the limiter has to be pushed and take off 7 db of gain. If this is the case, multiple instances of limiter will be in order with eq or dynamic eq in between to compensate for changes the limiter could make. There are lots of great limiters out there to match whatever your tastes, I like loudmax and Limiter No. 6, but look around if you don’t.
Once the loudness is there, I set final headroom of 1.5 db (to leave room for lossy rendering) with loudmax, which also catches any peaks that Ozone let slip through (and is also free). I just leave the threshold at 0 and turn the output down. After that, Airwindows makes another appearance with Not Just Another Dither, which is the best dither in the world IMO. As I understand it, it uses a combination of noise shaping (which most dithers have) and gating (which most don’t) and the noise shape and gating is based on the music you put into it (which nothing else I’m aware of does). The net result is that you get the noise you need to avoid quantization error but you hide that noise in the music itself, so the noise floor isn’t the lowest on paper but it’s inaudible in practice (Airwindows has much more detailed videos talking about this if you want to know how it works, but I’m just very happy it does). Then that goes through Youlean for my monitoring and out of the DAW.
From here we’ll get into a brief look at each song on IDMf 058: Open House and what I felt needed to change, and how I went about that business. These are really about as fast as I can go because there were 8 tracks to go through. If you all end up having similar questions I can dive deeper into specifics later. Without further ado, let’s dig in.
Flex Bormarr – Aperture
Flex Bormarr is a new guy who comes to us by way of following Spiffy Man. He drops a deep, long house track on us that is surprisingly easy to master for as long as it is. Thankfully the track doesn’t vary too much throughout. For this track my notes were:
control stereo width
soften treble
make kick pop
soften background slightly
To start, I took out just the smallest amount red EQ allows from the mids and added 3 db in the 8k band. It’s then run through my standard Satin treatment and into Kotelnikov with standard settings except for more dry signal mixed in than usual (-15db). Since this track is so sparse, this will help fill in the blanks. In ozone I needed relatively few EQ moves, and most were very broad. There is a slight, tight bump at just over 100hz to help the kick come out. This makes sense if you think about how electronic kicks work. Since most are based on some sort of pitch sweep EQ can change both the frequency content of the kick as well as how it behaves in the time domain, and it’s a trick I take advantage of a lot in my work. Then it’s into ozone’s exciter unit where we bring out the mids and compress away the higher frequencies. After that, I control the stereo width with multiband Ozone stereo widener. No real special tricks here, just pick the frequency range and narrow it a bit. I didn’t have to push any band more than 15% narrower, so it’s not a huge change but it does tighten everything up that extra bit. After that I set levels in IIRC 4 with a larger amount of character (IE release) as the limiting really didn’t have to do much on this track, so I wanted it as subtle as possible. Just set levels to get 11 LUFS and done.
Sitechain - Alien Shores (feat. Leia Dellosa)
This is a Metaside track, and Metaside is a DNB guy with a house streak. That means I expect lots of strong percussion that needs to be softened up a bit, and lots of bands of frequencies that don’t behave as you’d expect. My notes read:
control stereo width
tighten subs/bass
bring out kick
The reason the notes turn out this way is that the track has such a defined high end that any looseness or freedom in the low end sounds more like mud than groove. So it gets hit a little harder with Engineer’s Filter than the other tracks (43hz) and then I pull out the smallest amount red EQ allows again at 80hz and add some air at 8khz. Satin and Kotelnikov get standard treatment. In ozone, I made the EQ moves I’d normally expect except that I did not touch the mid range from 1k to 2.5k. The exciter and stereo imaging get standard treatment with an especially light touch on the stereo control. Not need in the bass band, only pulled 6% out of the lower mids and 11% out of the extreme treble. The maximizer gets standard treatment at the end. Overall, this track was already very clean and clearly produced, so it just needed a little edge taken off.
Xi Tau – Left Behind
This is a very sparse track with only a few relatively harsh elements in play. To make those harsh sounds gentle without compromising the character of the track takes a delicate hand on the controls. Again most of the track is very tightly produced, so any sloppiness in the lower end comes across as mud. My notes:
control grating in treble
soften and enlarge kick
tighten subs
bring out background mids
Standard sub filtering, then pulled out 1db of the lows, added 1 db in the mids and 2 in the highs for red EQ. I reduced the pre-emphasis in Satin to roll off the extremes of the frequency range. Standard use for Kotelnikov. In Ozone, we go into EQ and use my 100hz-ish kick enhancement EQ boost, but it’s a broad band instead of narrow (Q 1.4) and I pull a little bit of extra treble out. In the exciter, I added 1.6 drive for the bass at 2/3 mix, then did very light mixes for the upper bands (50 and 13 % only for the mid high and high bands). The bass with such little mix helps the kick swell but not too much, and the high bands needed to only step on the loudest elements of the treble. The stereo width was hardly used, and the largest move was only a 8% narrowing of the mid band, the bass was not touched at all. Normal Maximizer settings.
RFJ – Four By Afternoon
This track presents a challenge in that it’s very densely mixed. At any given frequency it feels like there’s 3 things playing at once. This means that anything you do to change the way the reverb behaves is also going to change how the synths act in a more obvious way than normal, so any tradeoffs we make are going to be relatively obvious (a softler, more pleasant loud frequency response has to eat up some the detail, and you will hear it). To fit it in with some deep house tracks, this needs to be changed a bit more than you normally want to in mastering, but RFJ was a good sport and didn’t complain. Here’s the notes:
great depth
control treble - grates a bit
bring out reverb - carefully
make kick pop a bit more
tighten up center a bit
To make the kick pop and tighten up the midrange we start by adding about .5 db in the low band and 3 db in the mids in red EQ. Then add some 8k while you’re at it because the lows and the mids have overpowered the sense of space I liked in the track. Now we’ve eaten up some headroom, but we’ve already started to lift the lows and mids more than the highs to help darken the track more subtley later. Satin is another opportunity to transparently tilt the whole track darker. I do this by lowering pre-emphasis and turning down the tape speed to about 20 IPS. Slower tape squashes treble and boosts bass, helping bring that kick out a bit more. Kotelnikov is working normally, then we’re right into Ozone EQ. I took out a lot more treble than normal and boosted just the extreme treble to help maintain the depth I liked in the original. This track gets heaver use of the exciter module to bring those highs down even further and I add into the bass here as well. Then we narrow the bass by about 50% in the stereo portion of Ozone. The rest of the bands need to come in just a little bit so that they don’t sound out of place. The rest of the chain is as usual.
ARJRA – We Are Alive
This is another dense track with a lot of treble, so we find ourselves using a lot of the same tricks as in RFJ’s track. In fact, these two mostly differ in how much I did of various things, but not which things I did or why. Notes:
smooth out treble a lot
make kick pop a bit more
bring out midrange
needs depth
In red EQ, we add half a db of lows, and 1 of mids and subtract 2 from highs. The treble here isn’t egregious except in the context of the rest of the tracks, and this track is at the upper end of what you can get away with in a vacuum, so we have a lot of treble to pull out here (unfortunately for Jayson, who is a treble head). Satin gets similar, but more subtle moves than in RFJ’s track. I’ll explain more about why in a moment. Kotelnikov is as normal, then we get to Ozone and start to take some big swings. In the first EQ, we do a .8 Q .8 db boost at 212 hz to help the kick and the lower midrange. The treble is brought down a full 2 db and starts falling off at 1khz (which is low for this kind of move). This is going to help focus energy from around 500 hz to 1k and get us more tone. Then we make larger than usual adjustments in the exciter, allowing more wet mix than usual (80%). Then it’s normal moves into the imager, and then the maximizer. Now, the IIRC v4, it should be noted, is a multiband limiter. Normally, this allows you to transparently push mixes right to the redline with less distortion. But sometimes, that means what comes out of the limiter is different from what went in and you need to compensate. The limiter was working hard enough here that it did make some changes, so to correct we have dynamic and post EQ in ozone. The dynamic EQ has a bass boosting band at 75 hz to help push kick up and two bands up in the treble to help that stay down. I go with just a few milliseconds of attack as anything slower and the bands hardly react at all (I use them like normal EQ bands, so not adjustments over 2 db or so max). The release is also slowed down a bit to help emphasize the movement of the bands. The post eq just pulls down the treble the same way as the first EQ with all the controls halved. From there, output is normal.
InTheAM – U Move 2 Me Too
Relic’s track is classic old school house, 303 resonance and all. So to make that sound modern it needs to be a bit more refined. I brought out the kick a bit, but decided the clap was carrying the rhythm better so I wanted to make sure not to impact that.
tighten up bass
take out a little sizzle in treble
bring out kick as much as possible
focus on the clap?
preserve stereo
This is a laid back track that came to me as an in your face mix, so I started by pulling out about half a db in every band of red EQ. Satin gets similar treatment to RFJ and Jayson’s tracks. Kotelnikov is used as normal. Ozone EQ gets the 100 hz tight EQ boost with a lower midrange and midrange and treble cuts, all very broad and very shallow (only -.3 db about). To help pull the mix back more, I left the exciter on full mix and only drove .3 db in the mid band, and .2db in the upper bands. After that, I skipped the imager and went straight to maximizer, but this was another track were we were hitting peaks of 3-5 db so what came out of the limiter was not what went in. The bass on this track was wide, but it didn’t bother me until after the limiter. So I just put the limiter after the maximizer and narrowed the bass there. I also pulled out a resonant band at around 10k with post EQ. After that, normal signal chain.
city at worlds end – Neolite 21+
This is a more ambient house track. Interestingly, where everyone else’s mids are fit their track, here they’re a bit looser than I’d want to dance to. Other people had this problem with the treble or the bass, but the mids always seemed right. So for this one we did a few unique things.
bring out bottom of kick slightly
tighten up midrange slightly
tighten stereo a bit
bring out background
What we’re going to do here is pull out bass and treble to emphasize the mids, without pulling out the kick if we can. We start with a lower corner frequency than usual in Engineer’s filter, around 37 hz. Half db boosts in the treble and bass bands of red EQ with a half db cut in the mids sound like the opposite of what we need, but I want those frequencies emphasized into Satin. Low emphasis and a very slow tape speed in Satin roll off the extremes, with an extra bump in the bass to help bring out the kick. Kotelnikov is normal. This track has a lot of reverb and delay dancing around, so when we get to the precise controls of ozone’s eq I cut some of the bass around the kick and the lower mids to clean those up. The biggest move was a -1.5 db cut with a q of 1 at 220 hz. A slight boost from 1-2k enhances the effect, with a complementary cut in the treble to really make the mids pop (without cutting away all the boosts that were made earlier). The exciter gets a slight bump in the bass region with .3 drive at 1/3 mix, otherwise normal treble eating behavior with a mid boost. The imager narrows the bass, which does most of the work for the stereo image, then pull in all the other bands just one or two clicks to make sure they aren’t too wide by comparison. The limiter doesn’t have to work too hard here, so no need to compensate.
Creepr – Its Insane
This was the quietest track and threw me through a loop in that the loudest thing was the bass hits in the breakdown. Setting a limiter to just kiss that would completely miss the kicks and wouldn’t get loud enough, so I had to get creative with this one. This kind of track is the challenge that I enjoy from a work standpoint, and the results, I think, are pretty good too. And yes, this was both the first track I listened to and the first track I mastered. Here are the notes:
quiet
soft kick drum, bring out some high end pop
good bass, but tighten it up a bit
soften treble slightly, bring out background
In red EQ, I pulled out 2 db in the midband to pull the whole mix back and added 1 db at 8k for some extra air to help bring out the background. In Satin I just slowed the tape down to roll off some of that extreme air and help maintain the bass here (this isn’t the tool to pull it out with in this case). Kotelnikov is used as normal. In ozone I did only very light EQ on the first pass (no more than .3 db moves, no q narrower than 2), normal exciter processing, and very light stereo narrowing in the upper mid band. Then I did more aggressive EQ before the first maximizer as this first one has to work pretty hard (up to 7 db of gain reduction). I turned the character up to 3 in the maximizer to help minimize distortion, but it is there if you look for it. Then some dynamic EQ pulling out about 1.5 db from 100 to 200 hz and 4 to 6 khz as needed. Then I pulled out a second instance of ozone with another maximizer pulling out 3-4 db of gain with another slow release to minimize distortion. Then post EQ to pull out some nastiness the limiters left at 5k and a vintage limiter (in tube mode) to kiss the peaks the first two let through and act more like I normally would want a limiter to. That pulls the track up to the loudness target I want, minimizes distortion while doing it, and set the appropriate tone for the whole project.